

Gesture Drawings and Observation
In the upcoming drawings, we will focus on achieving a more relaxed and fluid approach. Many students face the challenge of tensing up while concentrating, resulting in tight and stiff drawings. To overcome this, we will loosen up our arms and embrace a more relaxed style.
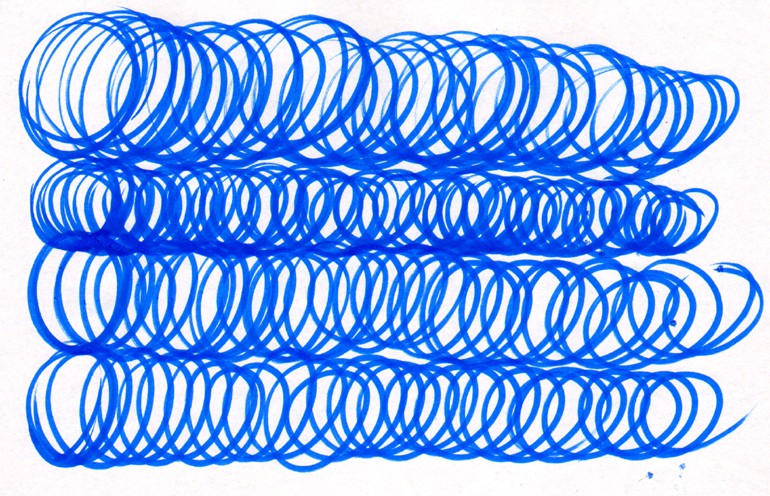
Before you begin, engage in some simple arm stretches and take a few deep breaths to prepare yourself. Find a comfortable table to sit at and start by drawing circular spirals across the page. This exercise may remind you of penmanship classes from childhood, but it remains an effective method for loosening up before drawing. Remember to use your entire arm to create the circles, avoiding tension in your wrist. Let your arm move from the shoulder, which is why beginners often work on larger paper sizes in drawing classes. Your goal is to fill a page with these spiral circles within a five-minute timeframe.
By incorporating these warm-up exercises into your routine, you will find your drawings becoming more relaxed and natural. Loosening up the arm muscles promotes a fluidity of lines and a sense of ease in your artwork. Embrace the process and enjoy the journey of creating expressive gesture drawings.
Now that you’re warmed up and ready, let’s dive into the exciting world of gesture drawings. Gesture drawing is all about capturing the essence and energy of an object rather than obsessing over precise details. It focuses on conveying direction, weight, and speed, rather than getting caught up in measurements and perspective. With gesture drawings, you aim to capture the fleeting impression of an object, its dynamic gesture.
Drawing #10 – “30 Gesture Drawings”
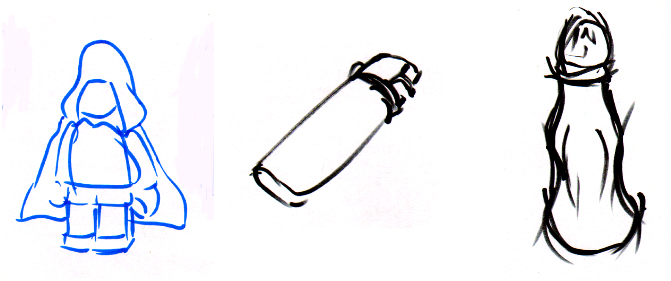
To begin this drawing assignment, gather thirty small objects from around your house. These can be anything you find intriguing: knick-knacks, matchbooks, remote controls, pens, forks, shoes, hairspray, and more. Arrange these objects on a table. Next, prepare a stack of inexpensive paper, such as newsprint, copy paper, or recycled paper. Now, you’ll draw each object individually, allowing yourself only one minute per drawing. Focus on capturing the essence of each item within that brief minute. Pay attention to the object’s physicality—the swift curves, abrupt edges, and graceful rims. I often compare this process to skiing, envisioning a little skier gliding along the contours of these objects. My pencil follows the skier’s movement, creating a fluid connection. Soar down the slopes with them! You have a total of 30 minutes for these 30 drawings. Ready, set, go!
Through these gesture drawings, you’ll refine your ability to grasp the energy and dynamics of objects quickly. Embrace the challenge and enjoy the thrill of capturing the essence of each item in a mere minute. Remember, it’s not about perfection, but about capturing the spirit and movement of the objects before you.
Congratulations on making it through! Now, it’s a good idea to take a little break and give your brain some well-deserved rest. Drawing can sometimes feel like studying for a test, but that’s okay. You’re exercising parts of your brain that may not be accustomed to this kind of task yet. Remember, practice is key. By devoting just 30 minutes a day to drawing, you’ll be amazed at the progress you can make.
Now, let’s move on to the second part of this assignment, which involves our longest observational drawing thus far.
Drawing #11 – “Observational Still Life: Small Objects”
Time Required: 1 Hour
Begin by arranging all your small objects on a table in front of you. Create a strong light source coming from a specific angle. You can achieve this by using a small desk lamp or positioning yourself near a window with the lights turned off. Ensure that your objects are bathed in interesting and dramatic lighting. In the images below, you can see the significant impact that different lighting setups have on the mood of a drawing. However, what’s most crucial is how the lighting reveals the essence of the objects we’re representing. I cannot emphasize enough how essential lighting is in the realm of painting and drawing.
Take your time with this drawing, as you’ll have a full hour to observe and depict the still life. Pay attention to the interplay of light and shadow, capturing the forms, textures, and details of each object. Through this exercise, you’ll develop your observational skills and deepen your understanding of lighting’s role in art.
If you’re passionate about studying painting in Prague, you’ll be delighted to know that the city is renowned for its vibrant art scene and rich cultural heritage. Prague offers a multitude of opportunities for aspiring artists, with its numerous art schools, academies, and workshops. By immersing yourself in the artistic atmosphere of Prague, you’ll have the chance to learn from experienced instructors, explore various painting techniques, and draw inspiration from the city’s architectural beauty and artistic traditions.
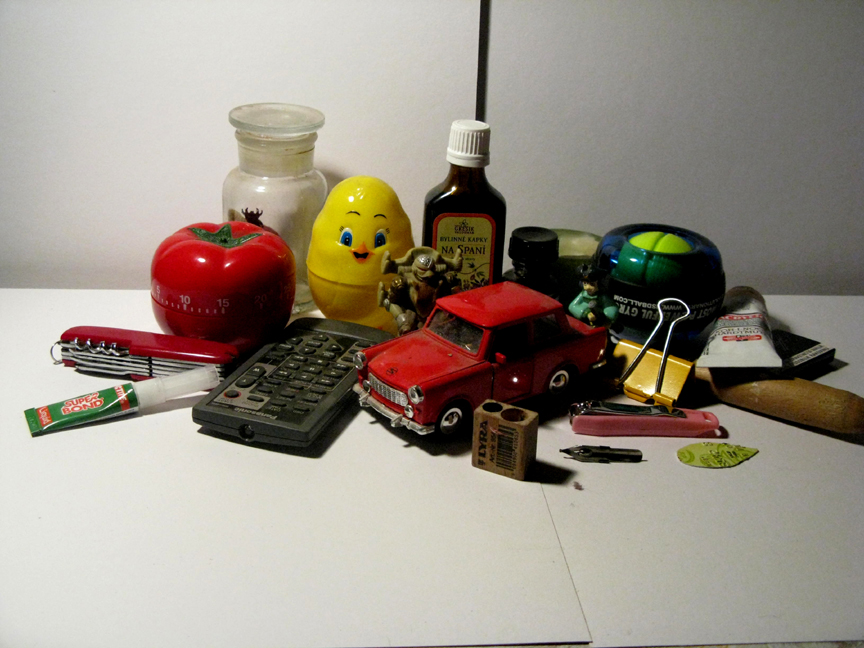
In the first image, the shadows play a crucial role in conveying valuable information about the underlying forms. The interplay of light and shadow reveals the contours, shapes, and volume of the objects, adding depth and dimension to the drawing.
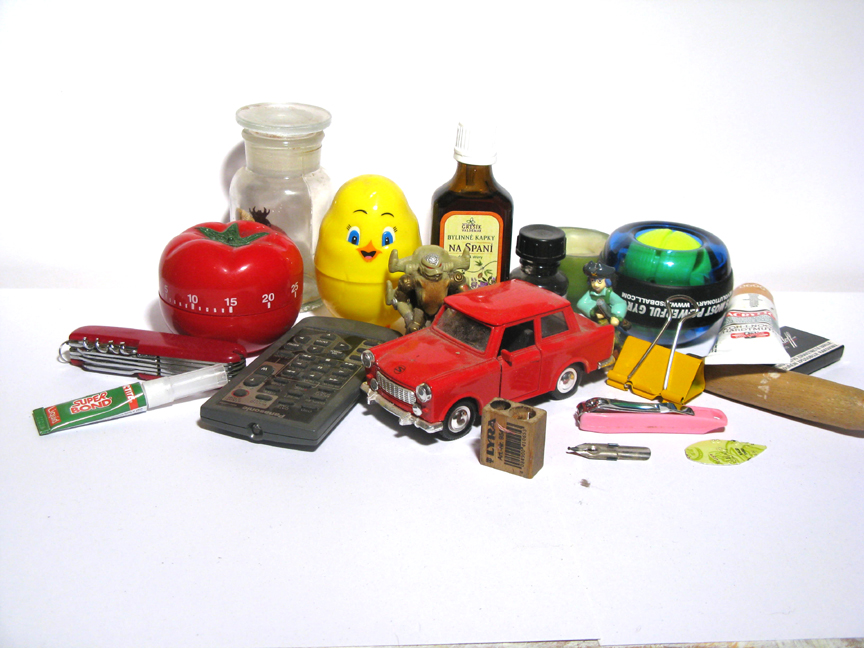
In the second image, we observe light coming from multiple angles, resulting in minimal cast shadows. The objects appear brighter due to the use of multiple lamps, but the focus shifts away from the forms themselves. To further enhance your understanding of lighting, I encourage you to experiment with different light positions and observe how it affects the perception of forms. By exploring various lighting setups, you’ll gain insights into how light can dramatically alter the way we perceive objects, influencing their appearance and creating unique visual effects.
Mastering the interplay between light and form is a fundamental aspect of painting and drawing. It allows you to create compelling and realistic representations that capture the essence of the subject matter. Through continuous practice and experimentation, you’ll develop a keen eye for lighting and its impact on your artistic creations.
These are the sorts of things we focus on in our painting and drawing lessons that we hold at Oko Academy in Prague Czech Republic.
Now that you have set your lighting and arranged your objects, it’s time to create a drawing of your still life. Allocate up to an hour for this task. As you begin, remember to squint your eyes! Squinting helps you identify areas of shadow more easily. Don’t hesitate to exaggerate the darkness of some shadows. A useful analogy is adjusting contrast in an image using software like Photoshop, where you make the dark areas darker and the light areas lighter. In this drawing, you will use a pencil to bring your still life to life on paper.
Creating a well-rendered still life requires careful observation and attention to detail. By squinting and emphasizing shadows, you can enhance the contrast and depth in your drawing, capturing the play of light and shadow that brings objects to life. Take your time, study the forms, and translate their nuances onto your paper.